Easy Loom Knitted Hat With a Brim
Way back in 2015, I did a loom knitting hat video that did really well! I have been meaning to get around to doing more loom projects and was recently inspired to do so. My friends at World Vision shared a story about a 15 year old boy named Muath who is a Syrian refugee who has been doing loom knitting to stay busy during the pandemic.
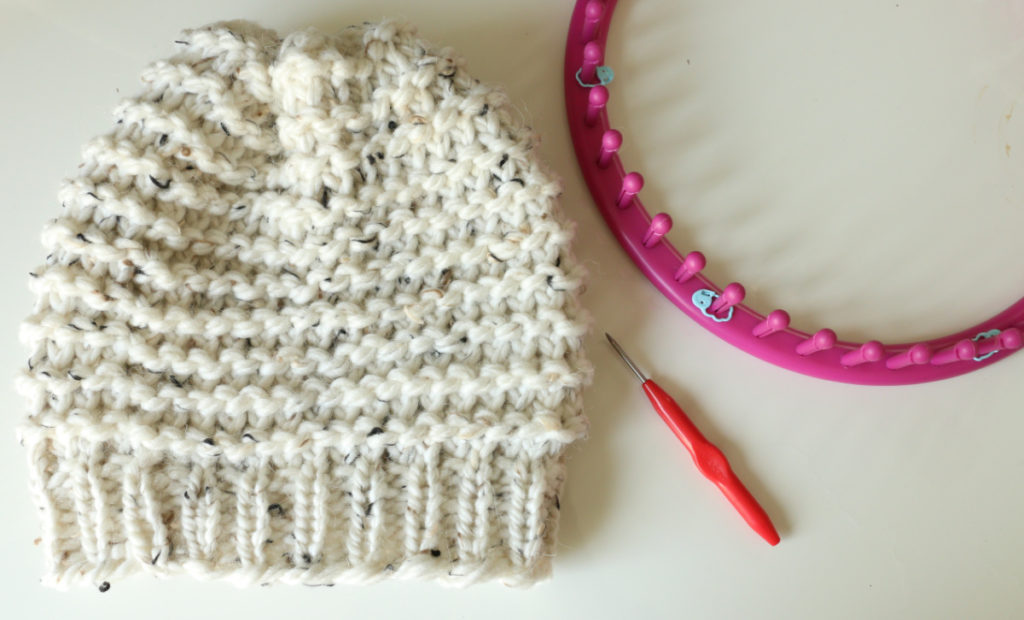
He enjoys it so much and even makes items for his friends and community. I saw some photos of Muath and it inspired me to make a loom hat. It has been 10 years since the Syrian refugee crisis began. If you'd like to see what World Vision has been doing to help those in need, you can find out more HERE.
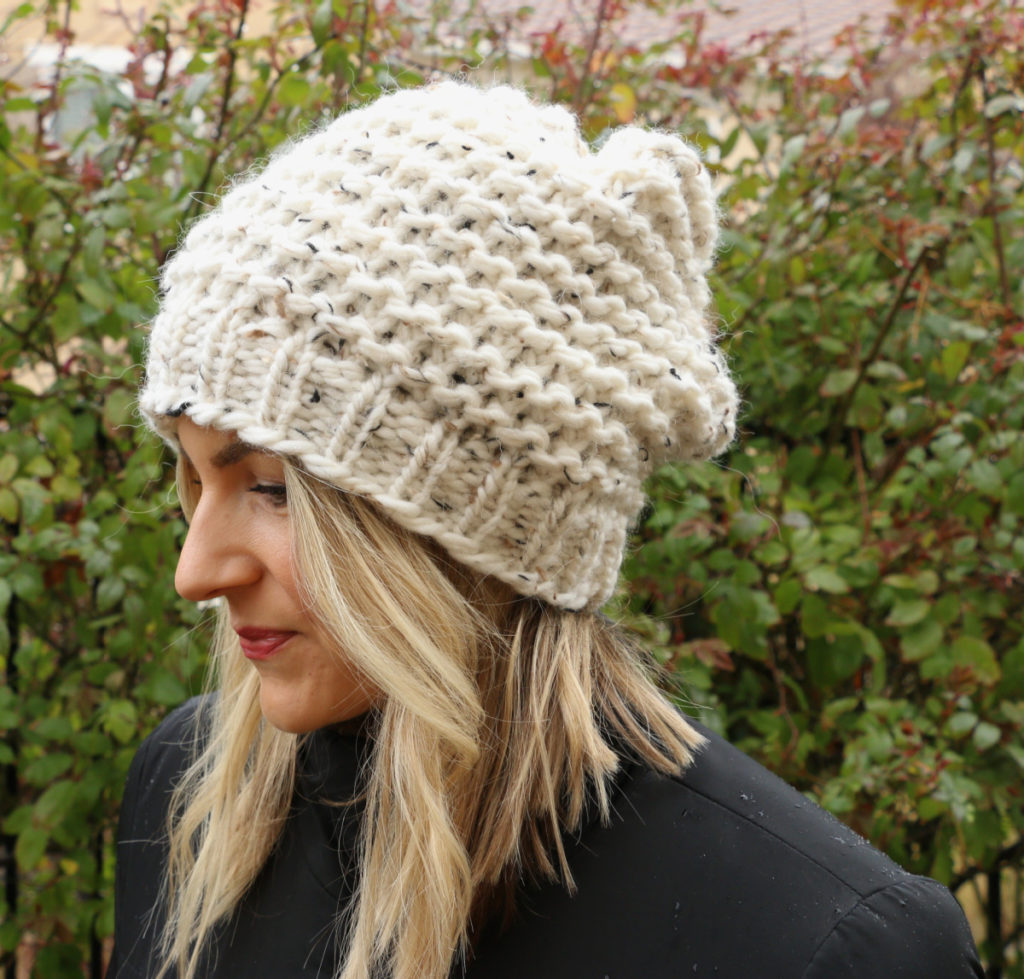
What is Loom Knitting?
Loom knitting uses a loom and a hook to create yarn creations. There are different types of looms, but today we will be using a large loom and bulky yarn to create a hat! Loom projects are great for everyone but especially good for kids because you don't quite need the motor skills required for crochet or knitting. It's a great way to begin working with yarn and loom projects work up really quick. The finished projects also have a very nice drape to them.
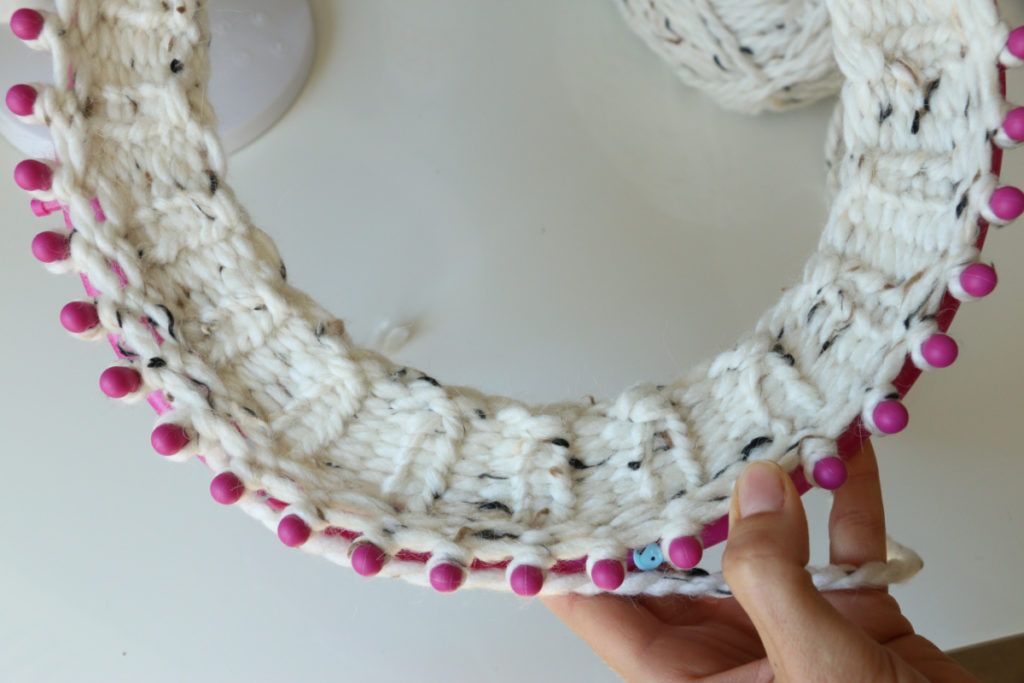
What type of yarn is used for loom knitting?
You can use a double strand of size 4 yarn, size 5 or size 6 yarn for most loom knitting projects. I am using a size 6, bulky yarn in today's loom knitting tutorial. Acrylic yarn is great, and you can even use a fun textured yarn. Textured yarn is usually not good for beginners because it is difficult to see your stitches, but that is not so much a factor with the loom.
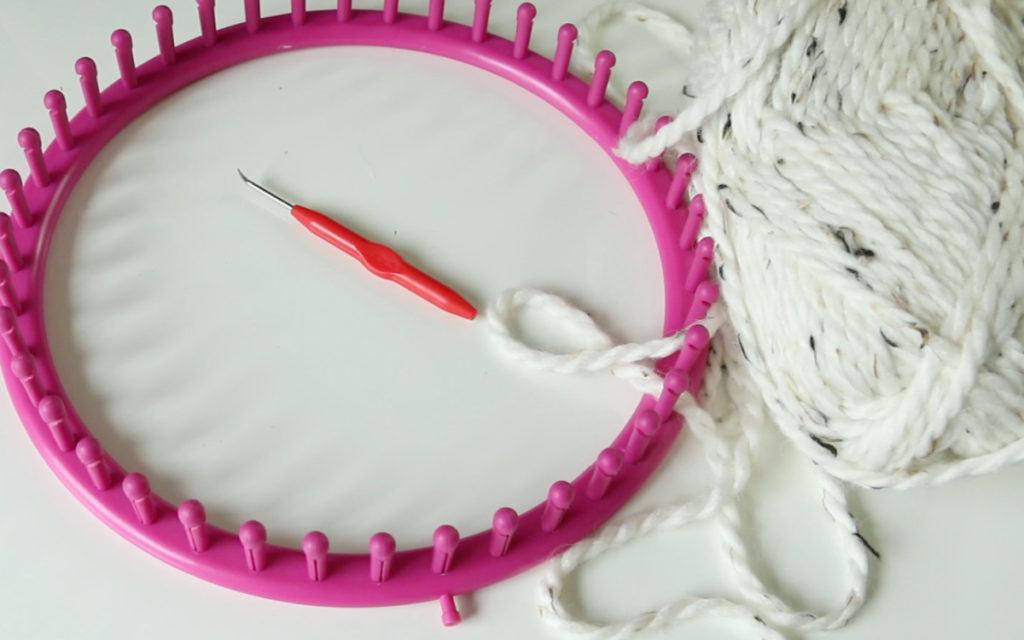
Yarn Pom Poms for Hats
I'm not going to go over pom poms in this tutorial, but here are some great pom pom methods for your loom knitting hats or any crochet hats for that matter!
How to Make Yarn Pom Poms
How to Attach Removable Pom Poms
How to Make a Faux Fur Pom Pom

Easy Loom Knitting Hat Tutorial
Active Time 1 hour 30 minutes
Total Time 1 hour 30 minutes
Difficulty absolute beginner
Estimated Cost $5
Instructions
- Attach yarn to loom on the foundation peg with a slip knot.
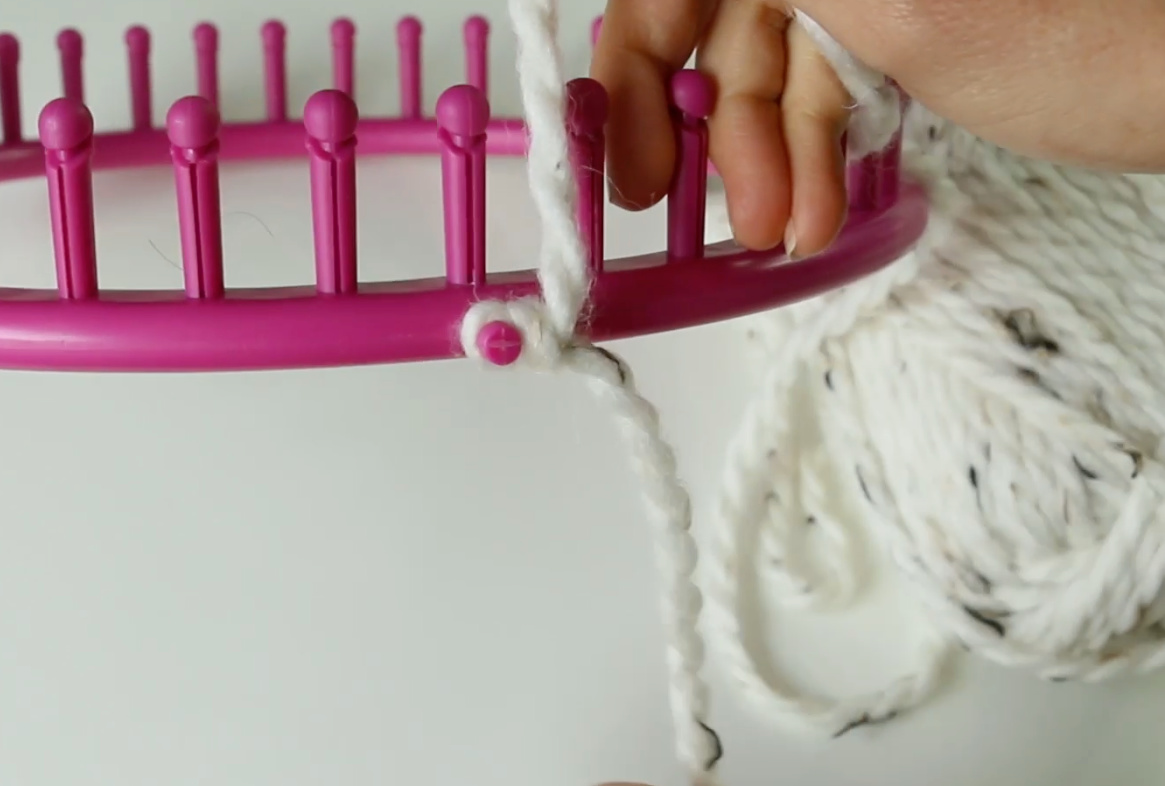
- Cast on: In a clock wise motion, wrap yarn around each peg on the loom.
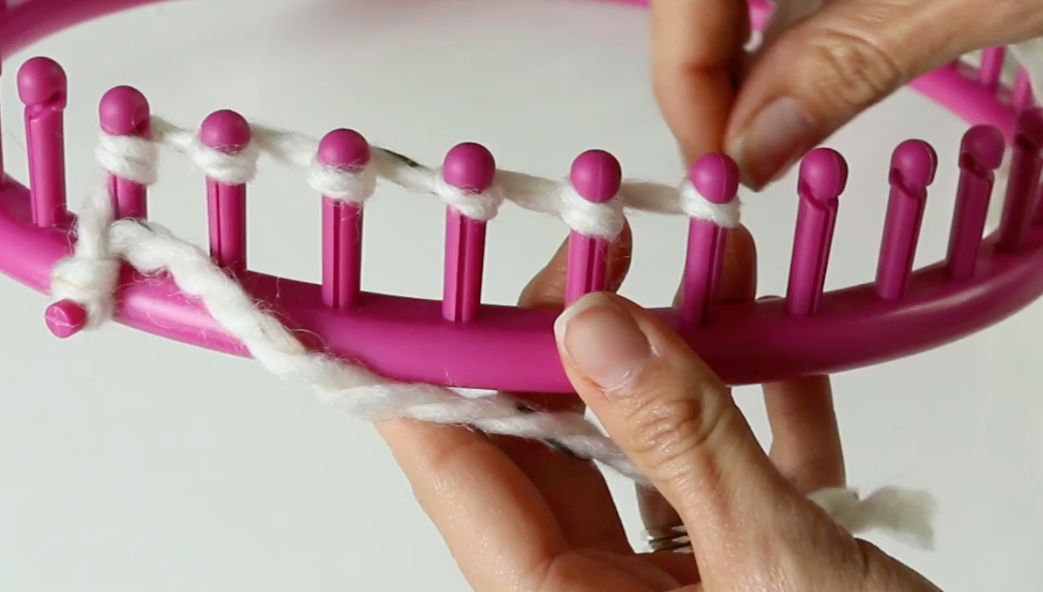
- When you get back to the first peg, move the previous round down the peg and wrap the yarn around the front of the peg toward the back and hold with your fingers.
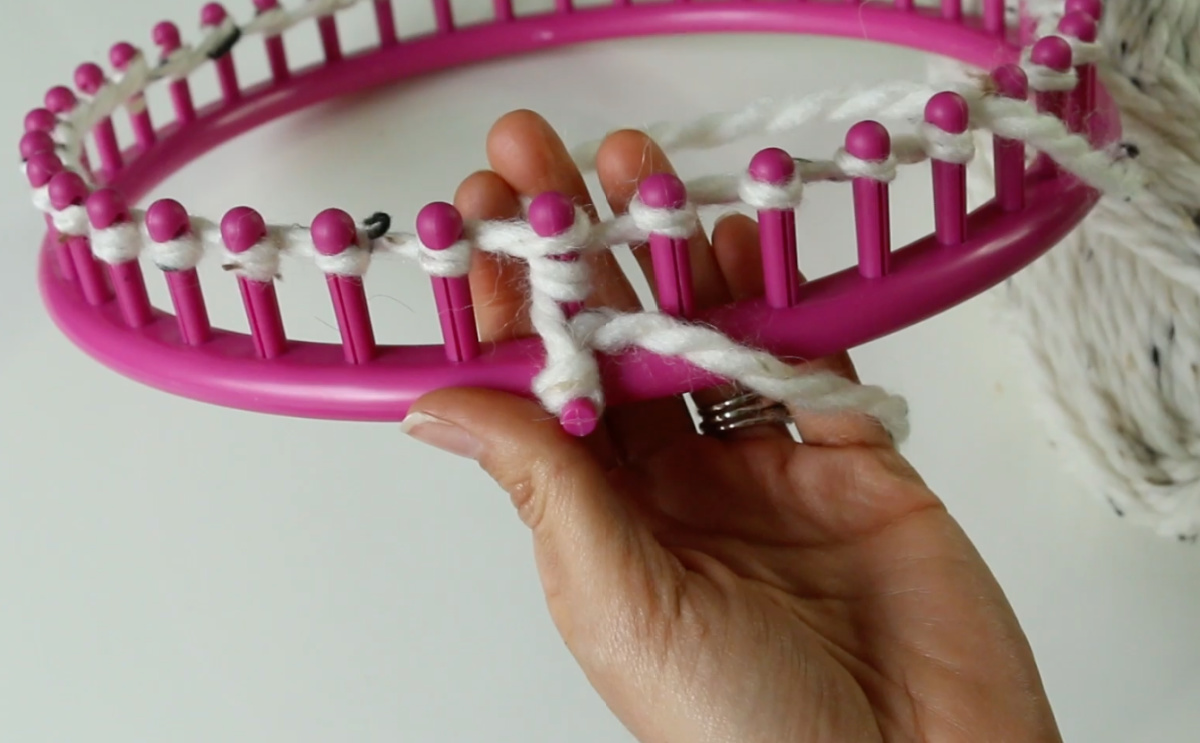
- Take the bottom loop and bring it up and over the other loop to knit off. Do this for each peg.
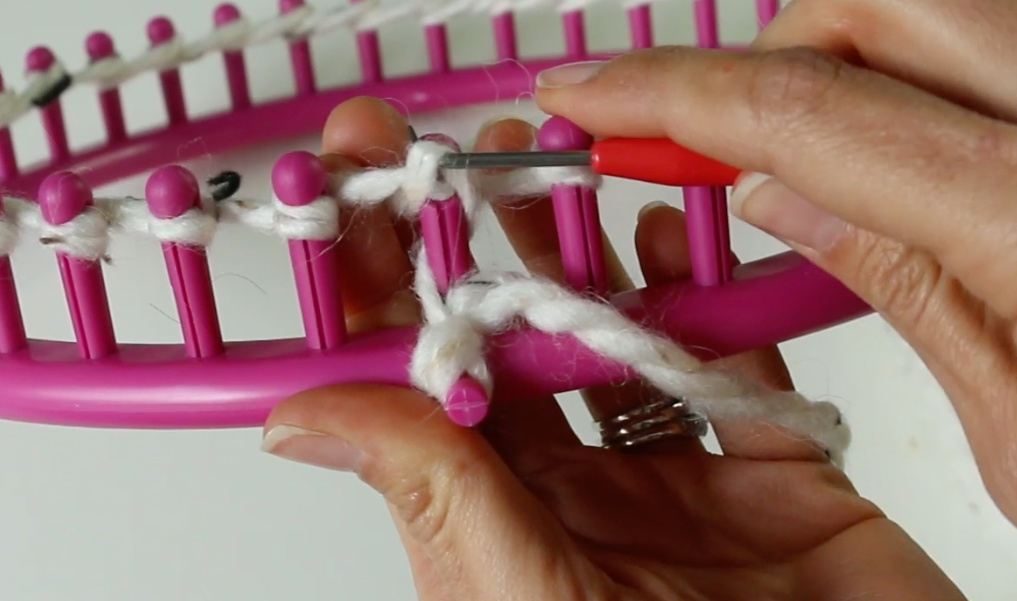
- You have now cast on! You can now remove the slip knot from the foundation peg.
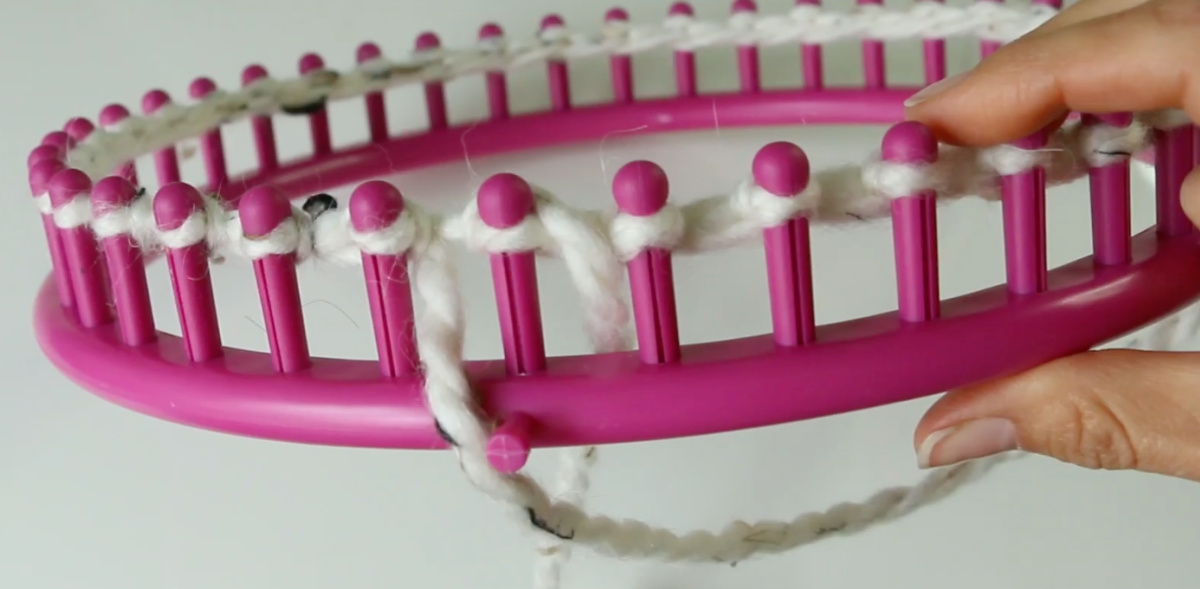
- On the first peg, complete a knit stitch. Do a half wrap and knit off (use hook to take bottom loop over the half wrap) just like we did for the cast on.
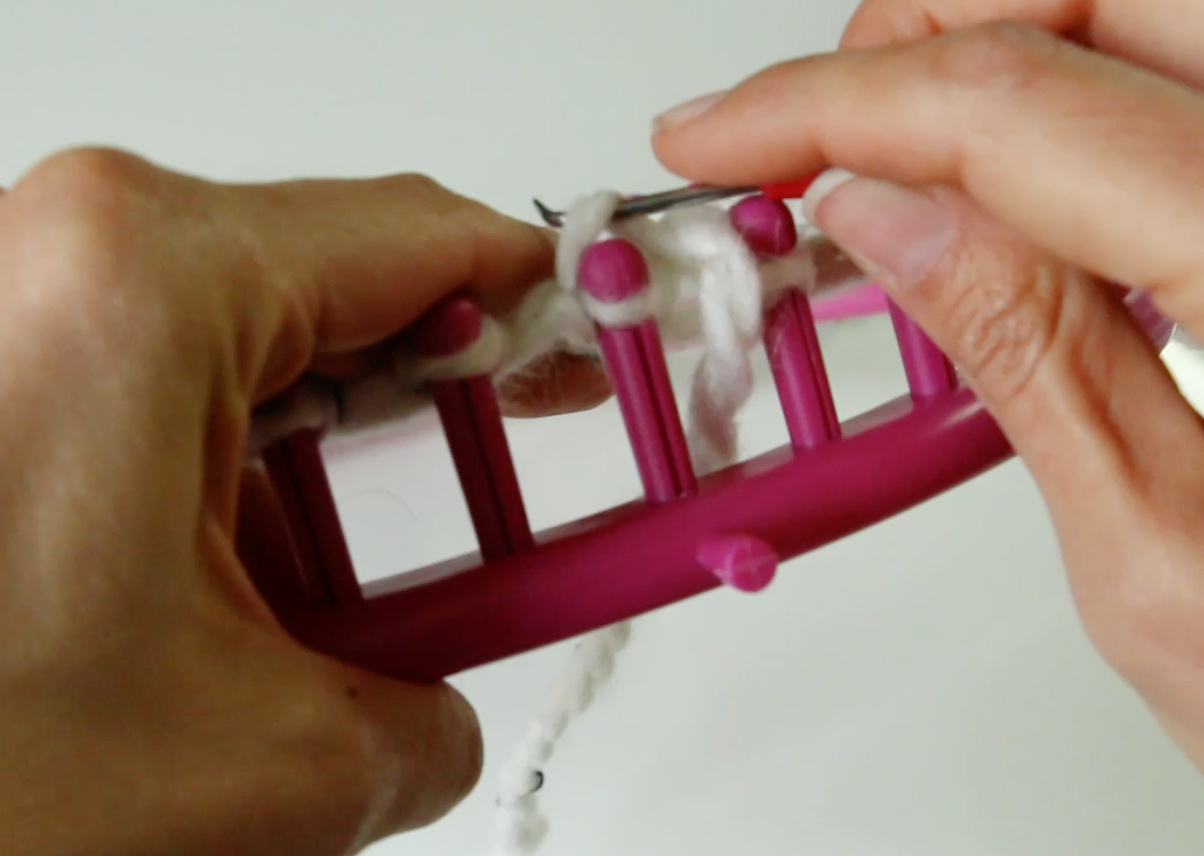
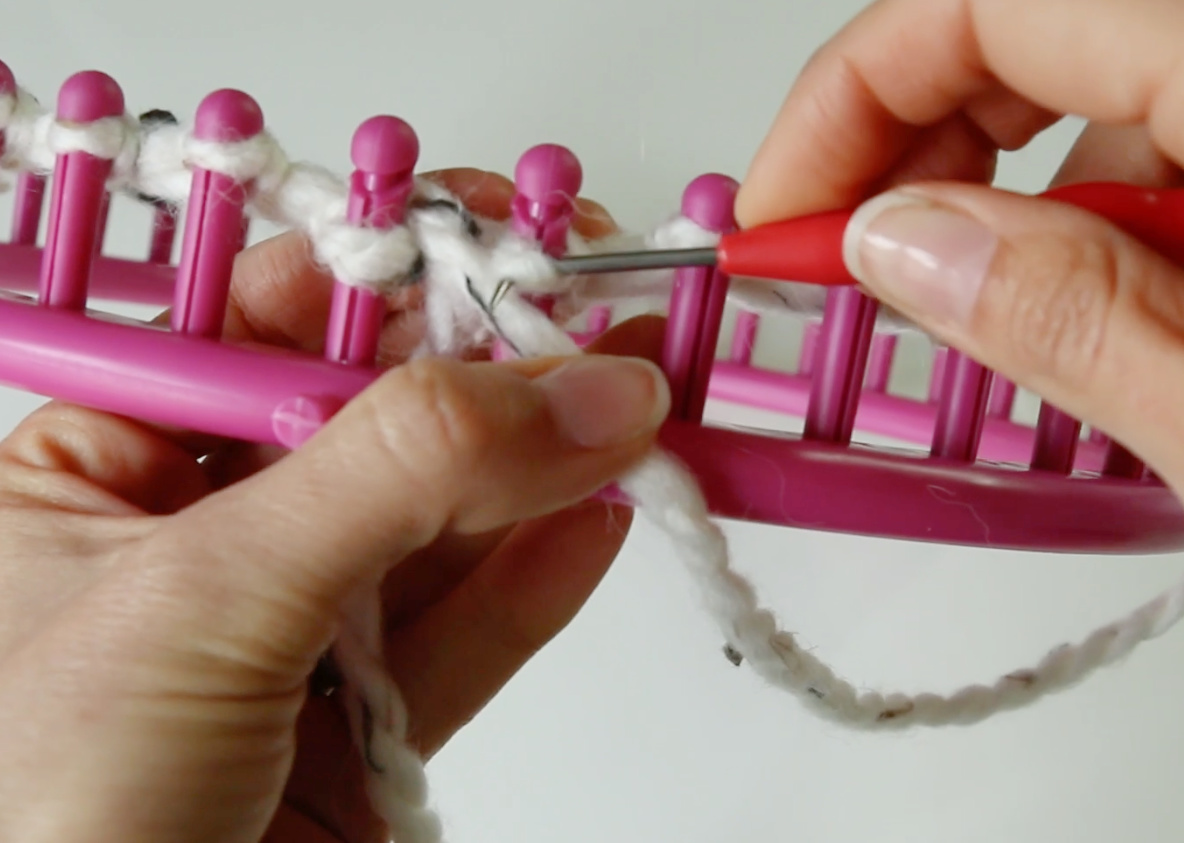
- On the 2nd peg, complete a purl stitch. Bring the working yarn in front of the peg. Using your hook, scoop under the top loop and bring up the working yarn to create a loop. Take off the loop on the peg and replace with this new loop. tighten loop gently.
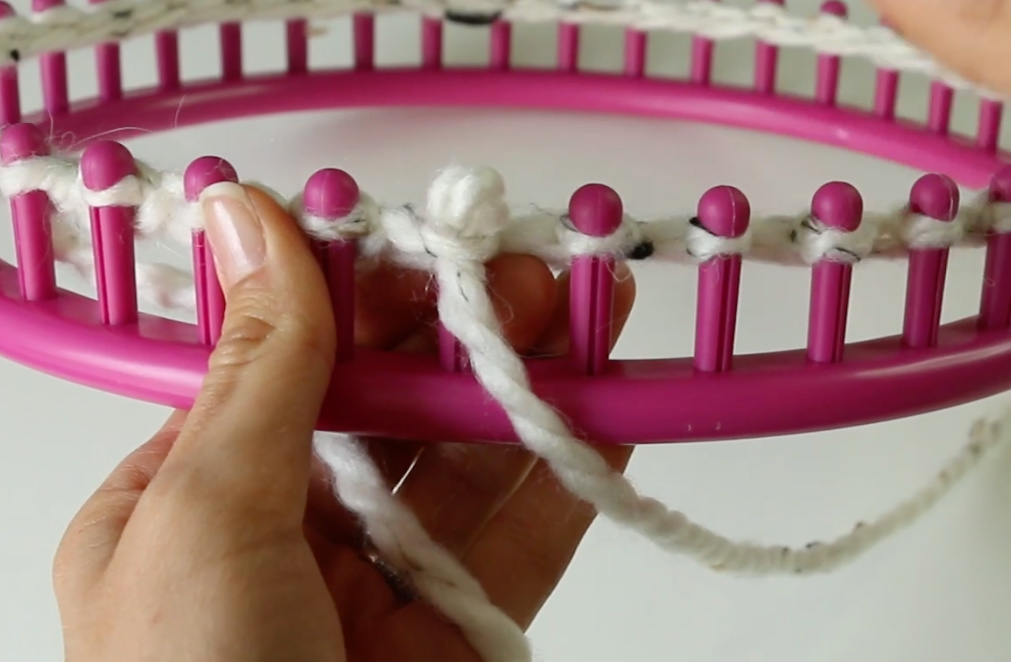
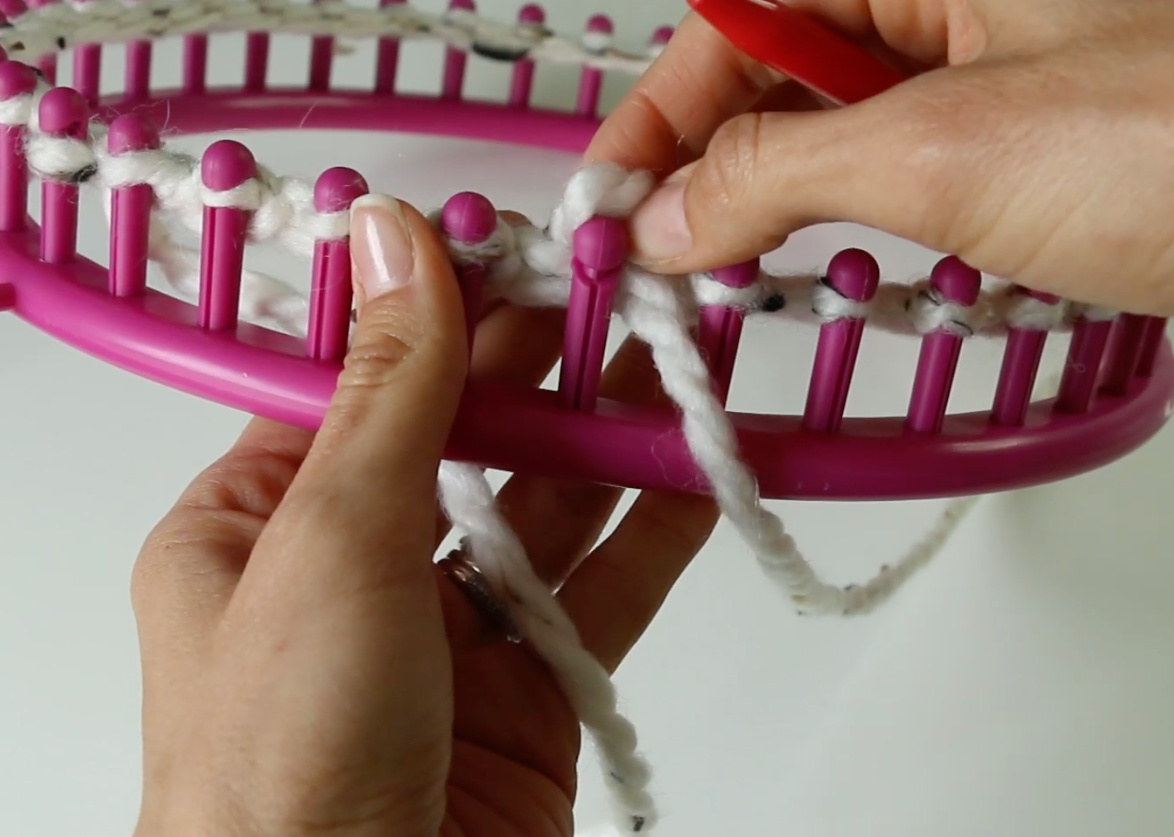

- Alternate the knit and purl stitches for a total of 6 rounds on the loom to create your brim )If you are using a size 5 yarn or want a thicker brim you can adjust this number.
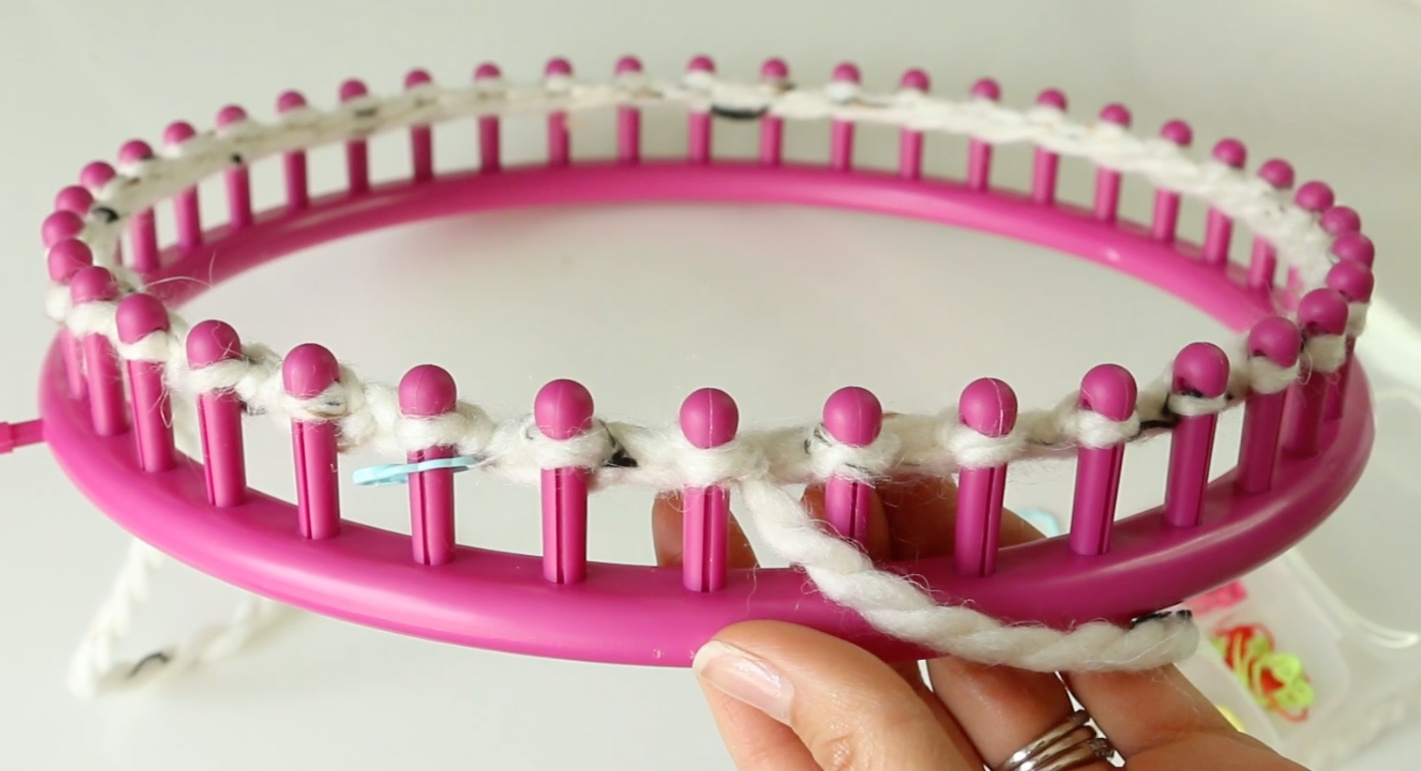
- Now we will start our hat body. Push the yarn on your peg down and using the full wrap like we did for the cast on, wrap the working yarn clockwise around each peg and then knit off all the way around.
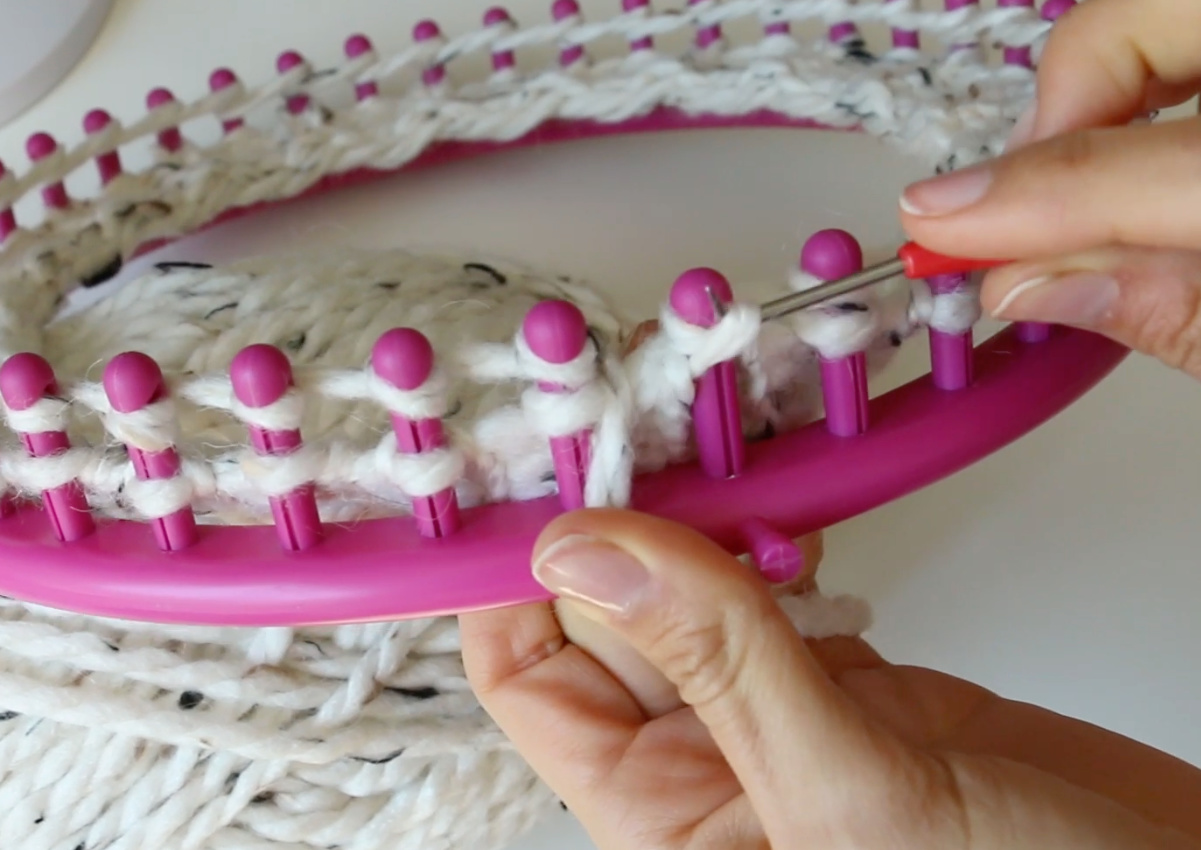
- Repeat step 9
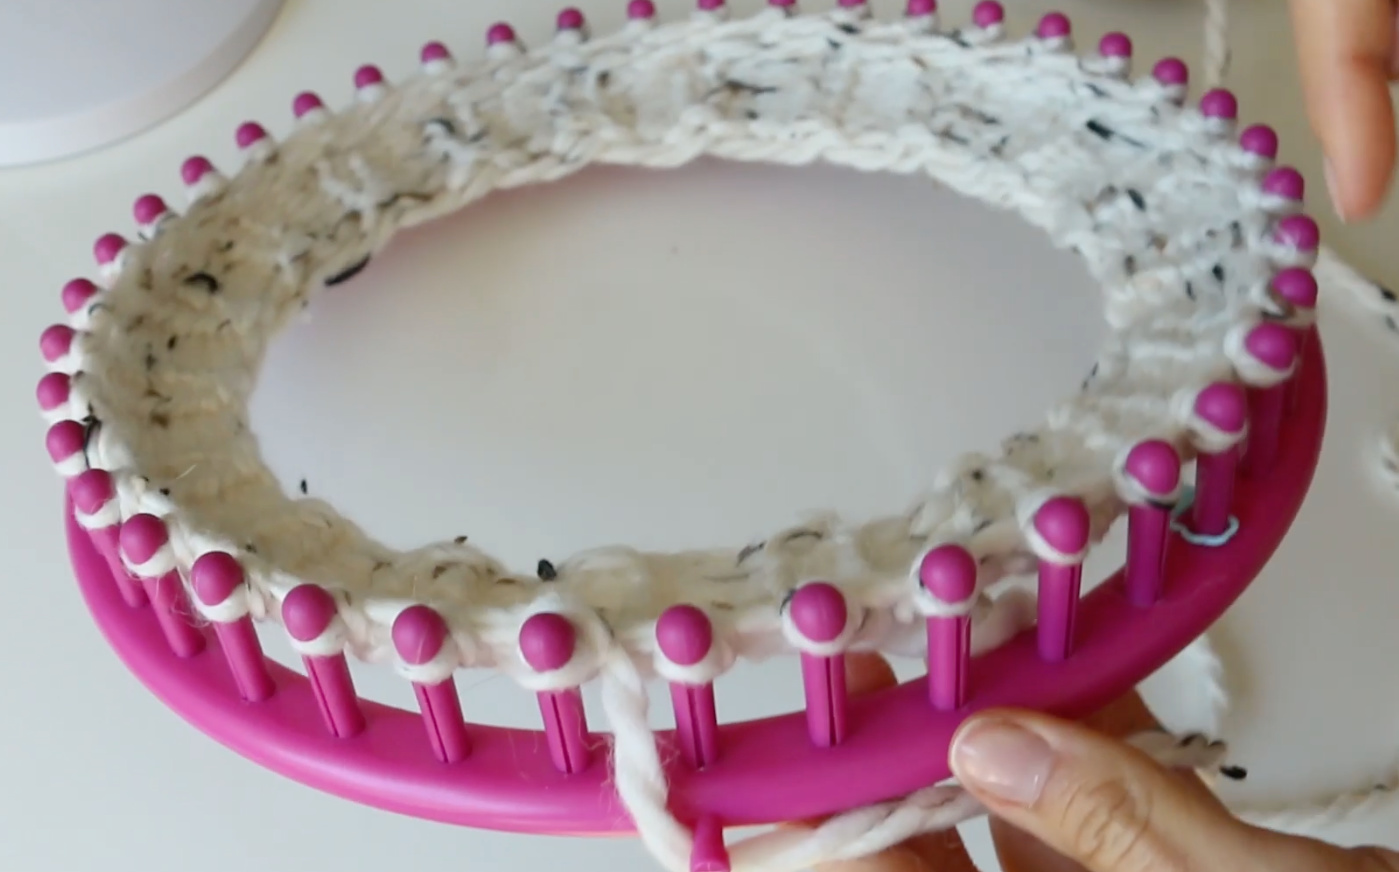
- Remember the purl from step 7? Complete a purl stitch on each peg all the way around.
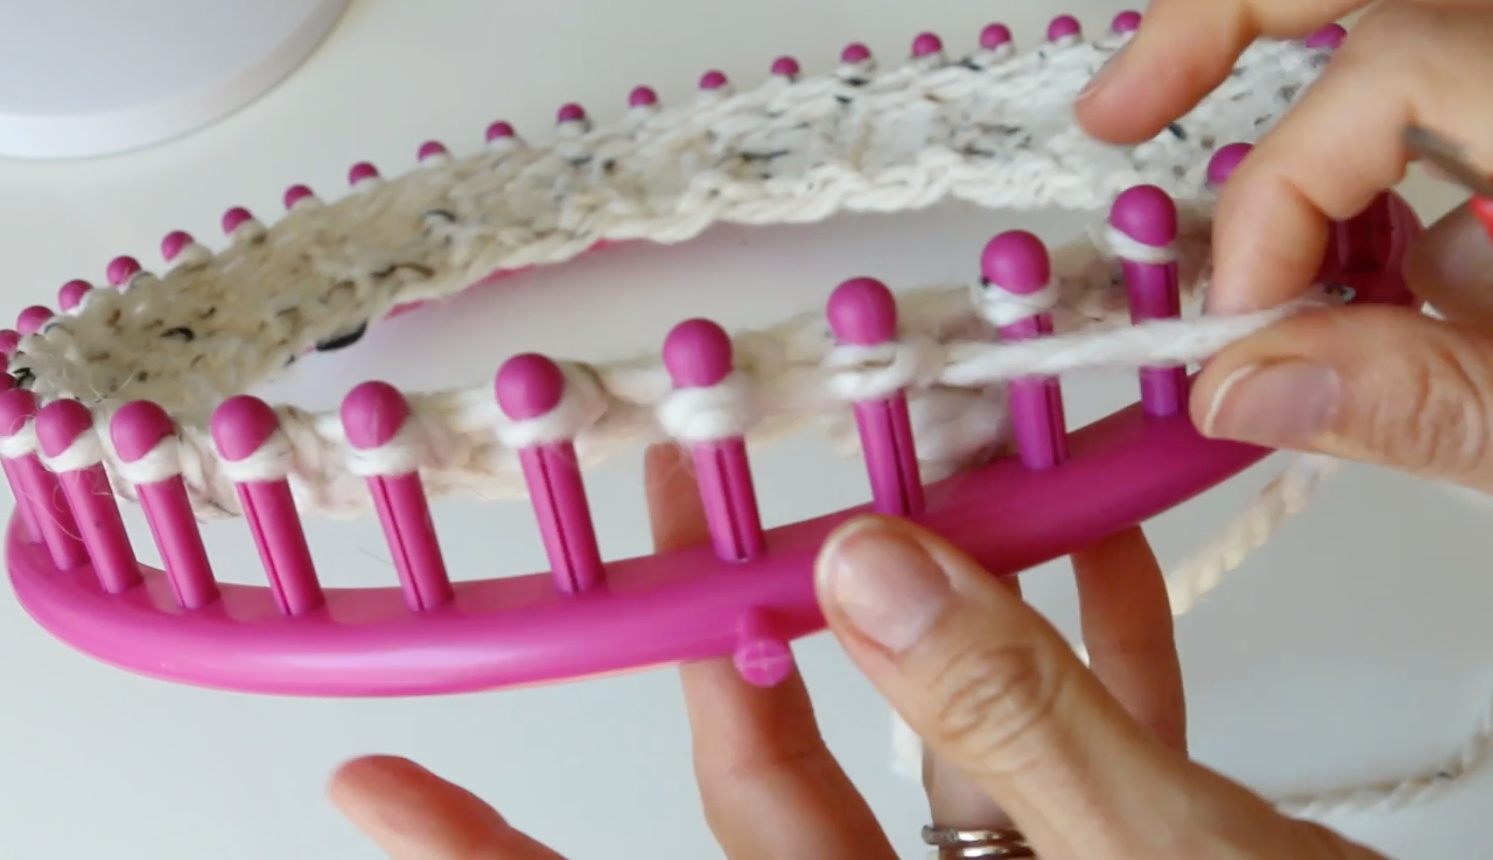
- Repeat steps 9-11 until you reach the desired size of your hat. I did 36 rounds total. You want at least 8 inches from brim. Finish with the 2 rounds of knit stitch before casting off.
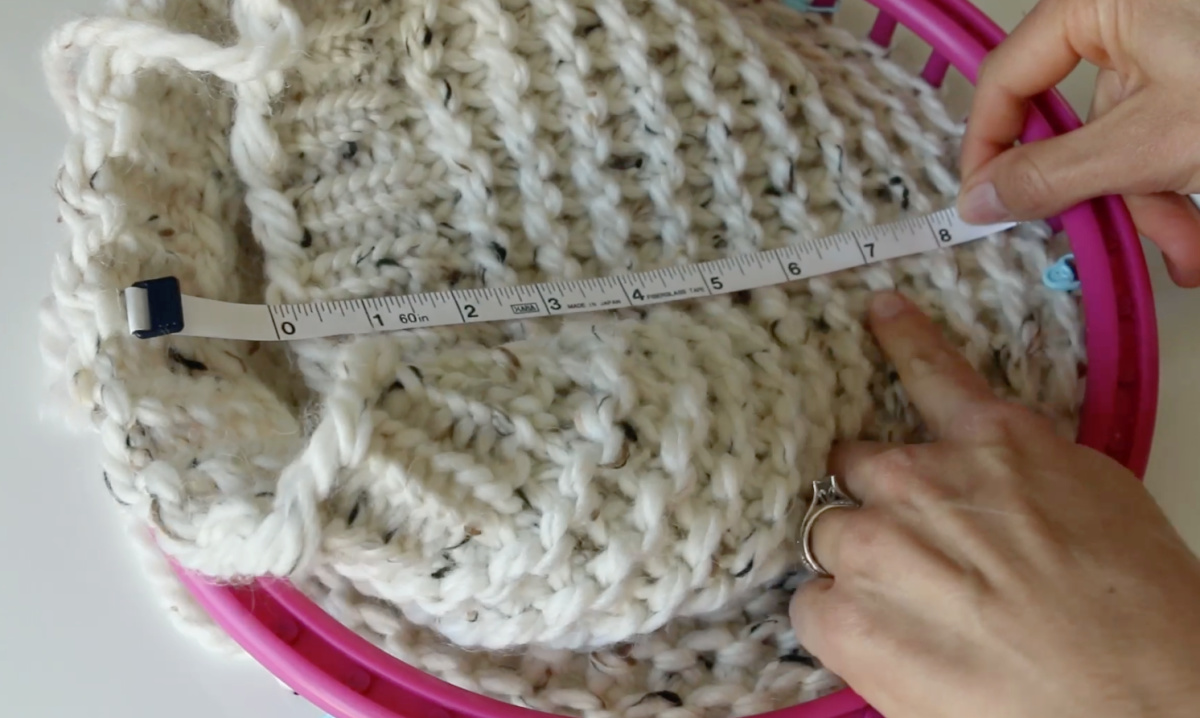
- Once you are done with your hat, cut a long piece of yarn roughly 18 inches, and thread a yarn needle. Insert your yarn needle from BOTTOM to TOP of the peg and into each loop on your peg all the way around.
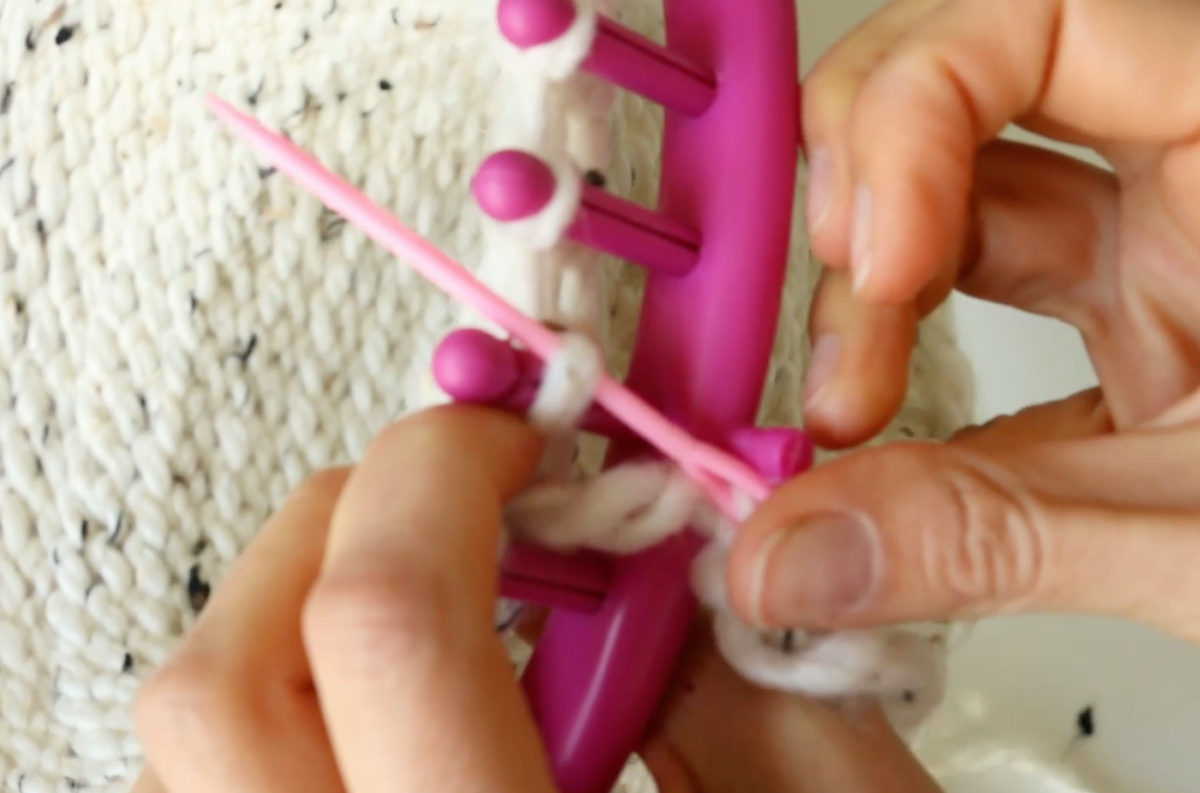
- Once that is complete, you can take off all of yarn from the pegs. You should be able to cinch up the top of your hat.
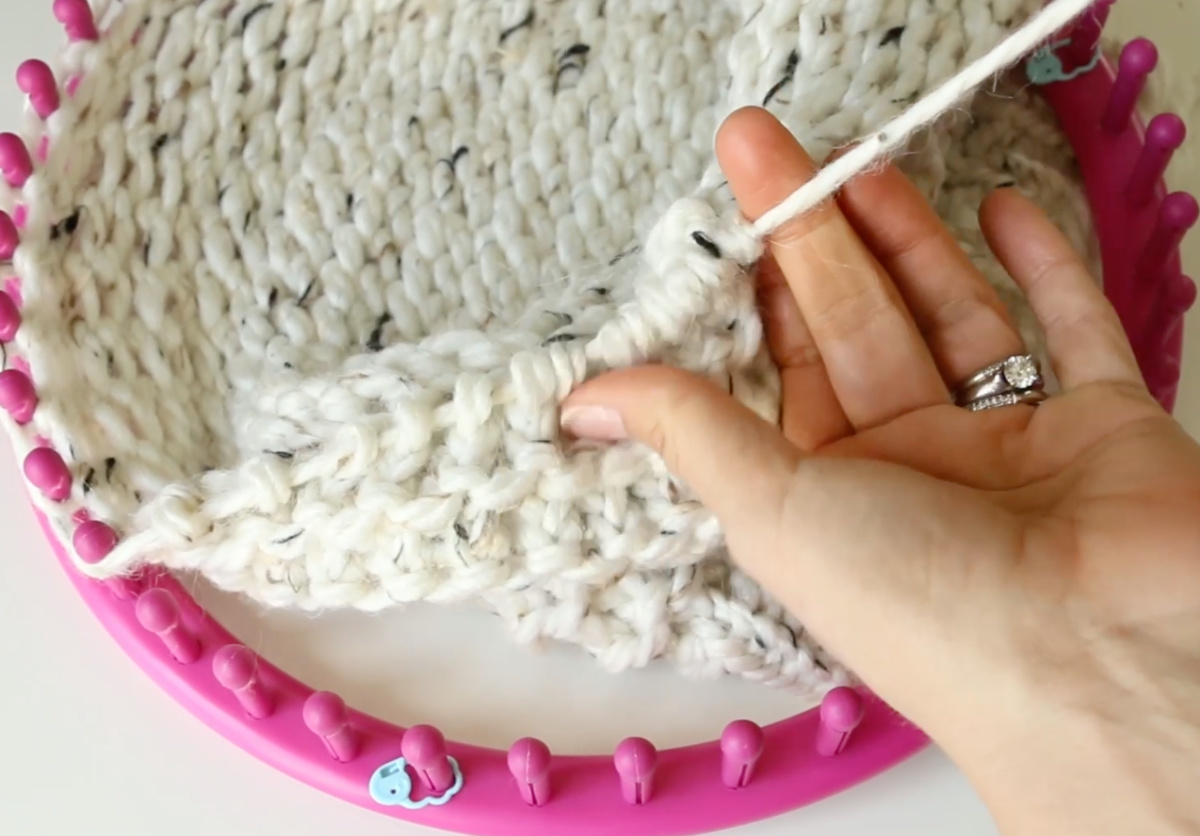
- Close the opening completely and from the inside or wrong side of the hat, sew the opening closed with your yarn needle and yarn. Weave in ends and fasten off.
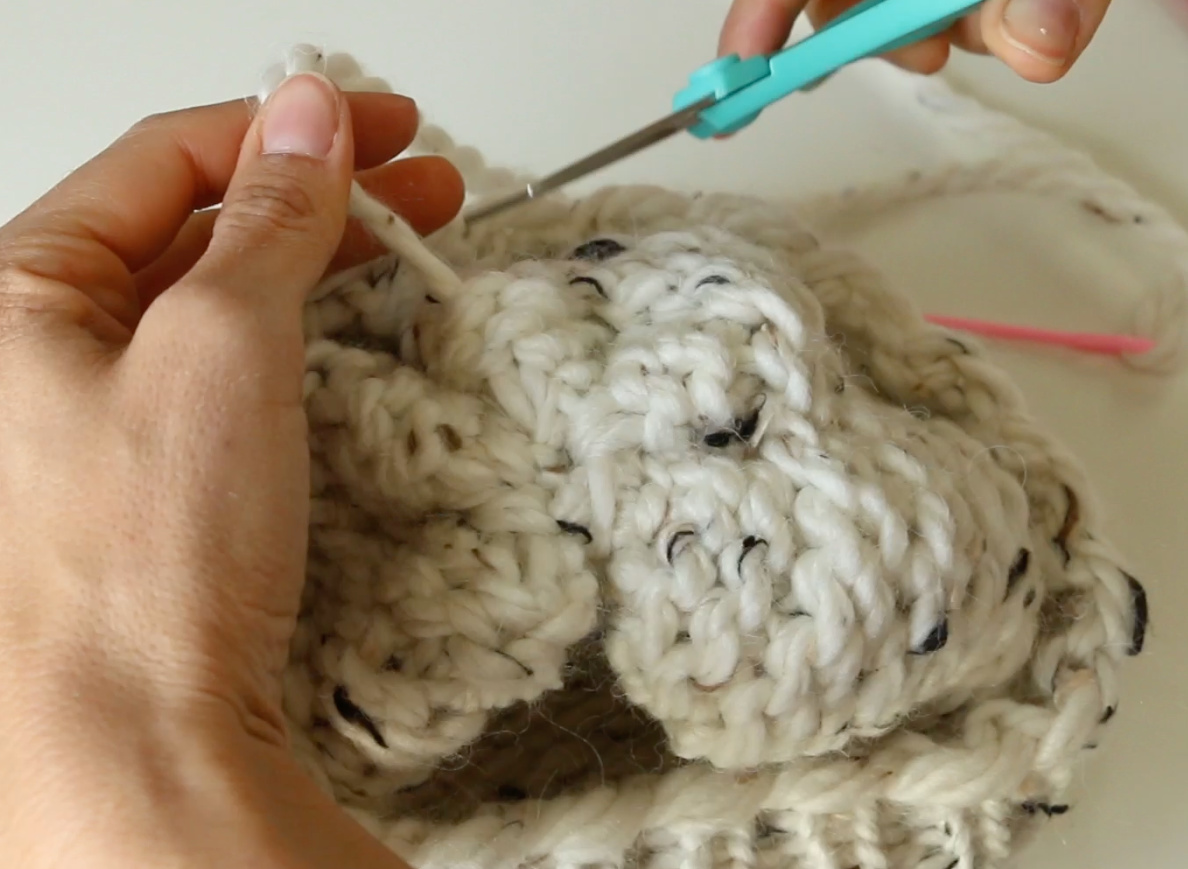
- You can be done here! Add a pom pom if you like or leave it as is. If you would like to tighten up your brim edge, cinch up that yarn. The video is helpful for this step.
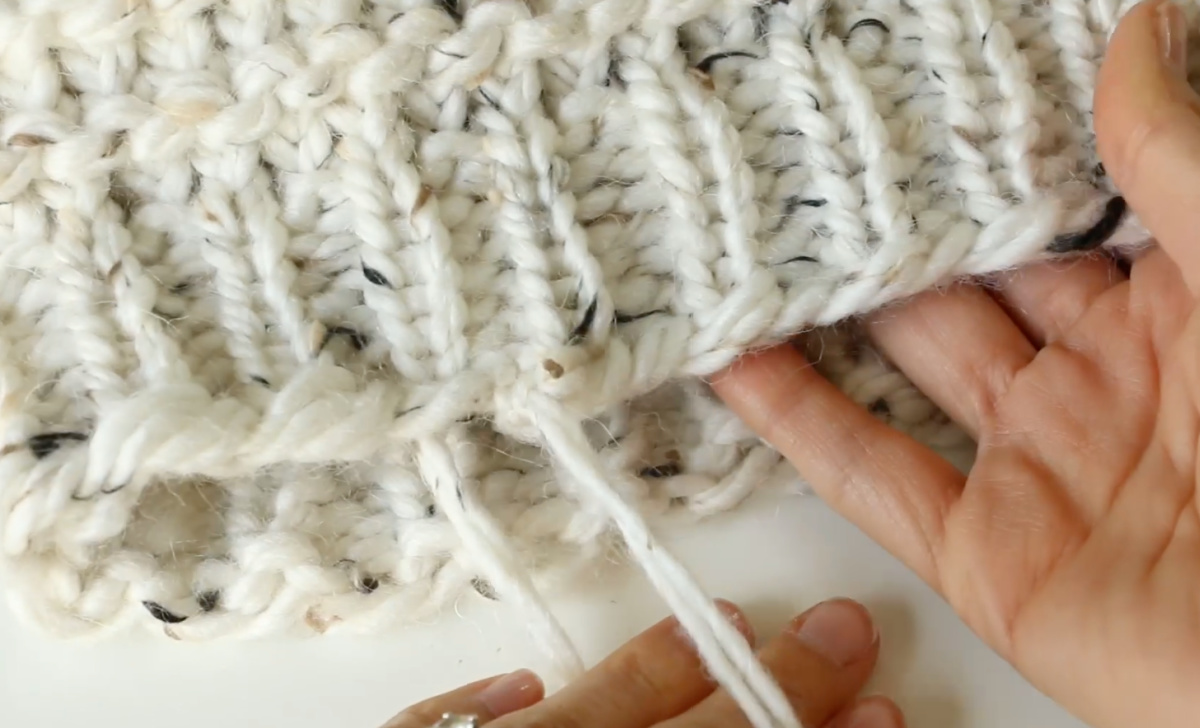
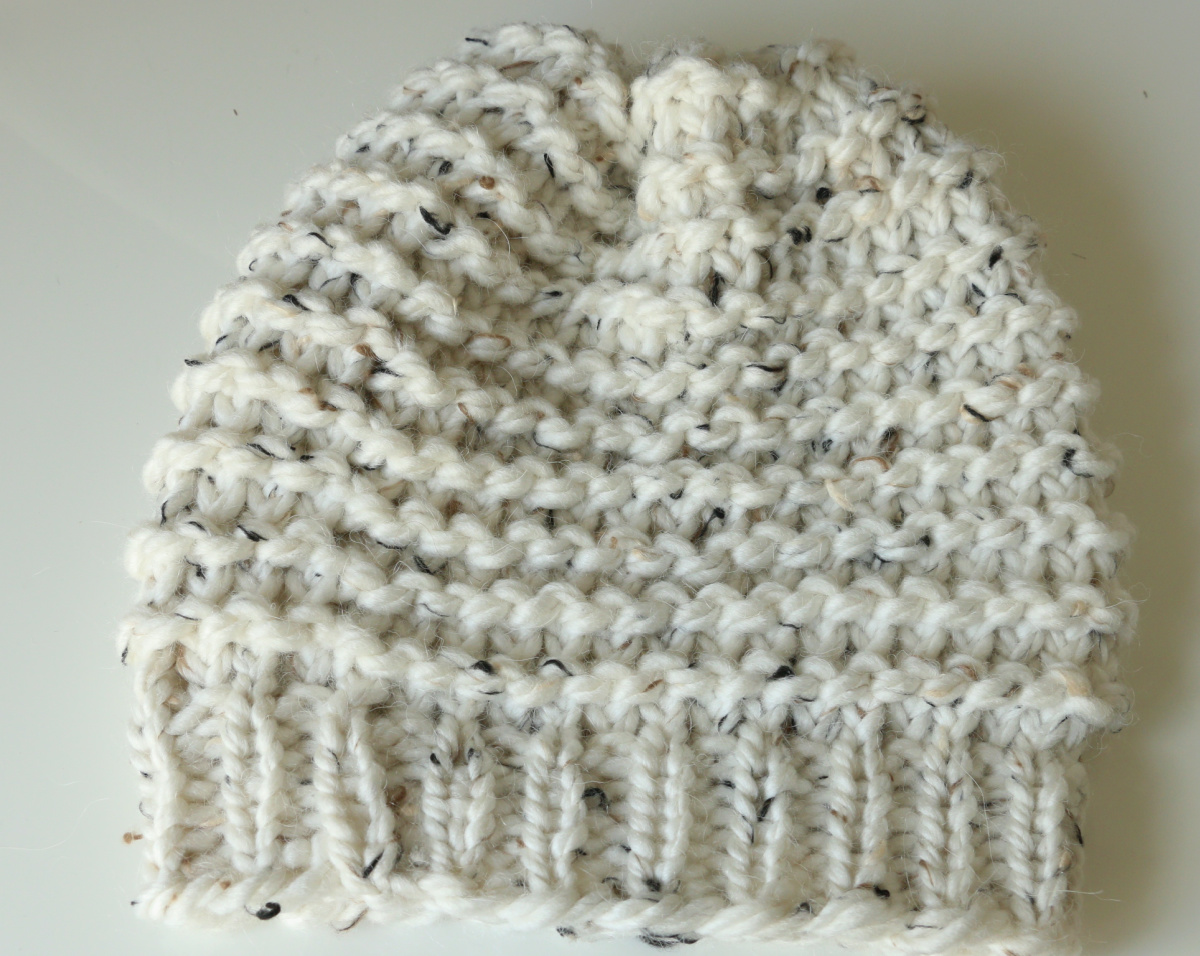
- Tada!! You're all done! Now you can make another one 😉
Source: https://melaniekham.com/easy-loom-knitting-hat-video-tutorial/
0 Response to "Easy Loom Knitted Hat With a Brim"
Post a Comment